YOU WILL NEED:
- Cartridge wrench that came with your filter housing
- Bucket
- Food grade silicone
- Paper Towels/Rags
- Replacement Filter
BEFORE YOU START
 1. Turn off your main water supply valve (usually located near the pressure tank)
2. If your filter has a pre/post water shut off valve, turn the PRE filter valve off
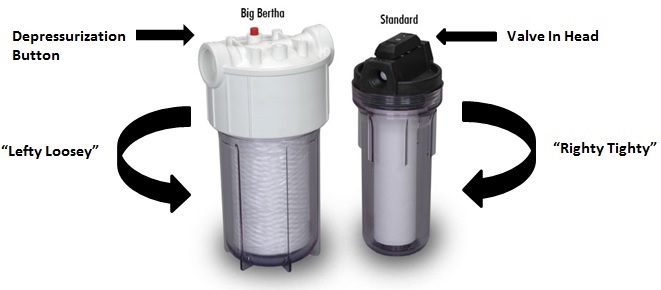
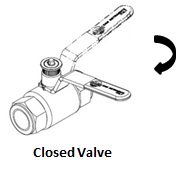
3. If your filter has a valve on the head itself (called a “valve in head”), turn it 180 degrees
4. If your filter has a depressurization button, depress it for several seconds.
5. Run water from your kitchen sink for about 1 minute. This decreases water pressure which will make changing the filter easier
6. If your filter housing has a post filter valve, turn it off
CHANGING THE FILTER
1. Place a bucket under the filter housing, it WILL spill water when you remove it!
2. Use cartridge wrench and turn the filter housing to the left (counter clockwise) to remove it from the head.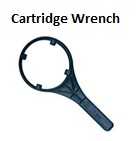
3. Remove dirty filter from housing and discard
4. Remove O-Ring. There should ALWAYS be an O-Ring! DO NOT put the housing back on without an O-Ring.
5. Inspect O-Ring to ensure it is clean and smooth. If worn, nicked or flattened, replace.
6. Lubricate O-Ring and replace onto filter housing. Lubricate filter housing threads. Only use food grade silicone. DO NOT use Vaseline!
7. Insert new filter inside the housing and screw it back onto the head.
8. HAND-TIGHTEN ONLY!!!
9. If you closed the pre/post shut off valves, open them. Slowly turn the main water valve back on until the housing is full of water, and check for leaks.
10. If there is small leak, tighten slightly with wrench. Otherwise, unscrew housing, add more silicone to O-Ring and threads and try again.